Cervical Collar application
The steps for positioning cervical collar are as follows:
- during the entire process, manual inline support should be maintained either from the top of the injured person’s head, or, if circumstances dictate, from the side or below the neck
- at all times the first responder at the head of the injured person is in control of neck movement and of the team providing assistance
For single size cervical collars, it is first necessary to measure the distance between the angle of the injured persons jaw and the highest point of their shoulder or trapezius muscle.
This is then used to approximate the correct size of collar to be applied, though this can be changed if it does not appear correct or if there is excess movement once the collar has been fitted.
For a multi-fit collar, this step is not necessary.
The cervical collar is usually first passed behind the person’s neck and the chin piece wrapped around the front to approximate the final positioning. The collar is adjusted to fit snuggly around the neck and the Velcro tab secured.
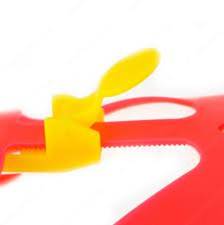
For a multi-fit collar, the chin piece is then adjusted and locked into position to prevent forward flexion of the neck.
The position is then reassessed and adjusted further if necessary.
- Apply Manual Inline Support
- Measure (if necessary*)
- Select correct size collar
- Pass collar behind neck
- Secure Velcro and other tabs
- Reassess position
- Adjust further if necessary

*Not required for multi-fit collars
Fitting the single size C Collar:
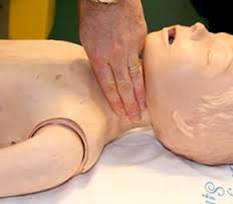
To choose the correct size for the single-size cervical collar, it is first necessary to measure the injured person’s neck by placing fingers on their neck between the lowest point of the angle of the jaw and the highest point of the shoulder where the trapezius muscle meets the neck.
The head must be in the neutral position with manual inline support being maintained throughout.
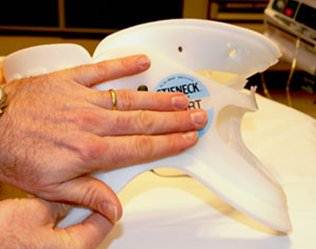
If, say, three fingers are determined to be the correct size as shown here, that is then measured on one of the single-size collars, usually between the securing post hole and the bottom of the rigid section of the collar (rather than the pliable foam padded area)
Once the collar is applied to the injured person, it is then checked to ensure that it looks symmetrical and that there are no “gaps” which would allow forward flexion of the neck during injured person movement or transport.
- Measure on person using fingers
- Select correct size collar by comparing
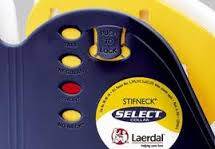
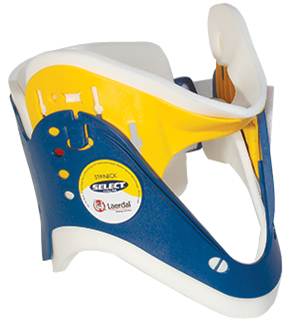
Fitting the multi-size C Collar:
To choose the correct size for the multi-fit cervical collar, it is first positioned on the injured person and the side Velcro tab secured.
The chin pieces is then extended to fill all the space between the bottom of the chin and the sternum of the chest (with the head in the neutral positionand manual inline support being maintained).
The locking device is then closed to ensure there is no movement from this position, and the integrity of the immobilisation visually inspected and checked to ensure it is symmetrical and that there are no gaps that would allow flexion to occur during transport or movement.
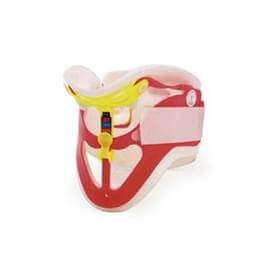
Fitting the multi-size C Collar:
- Place on injured person
- Adjust to correct size
- Secure using locking device/s